CYCLING | HOW DO I CHOOSE THE RIGHT BIKE SIZE?

CYCLING| HOW DO I CHOOSE THE RIGHT BIKE SIZE? 

With so many different bikes on offer, it can be difficult to decide exactly what you need. However, for a safe and enjoyable ride, nothing is more important than choosing the right size.

How to choose the right bike for your kid

Bicycle types

Kid’s bikes are designed for children aged under 12 or less than 1.5 metres in height, and
usually have a wheel diameter of 10 to 24 inches.

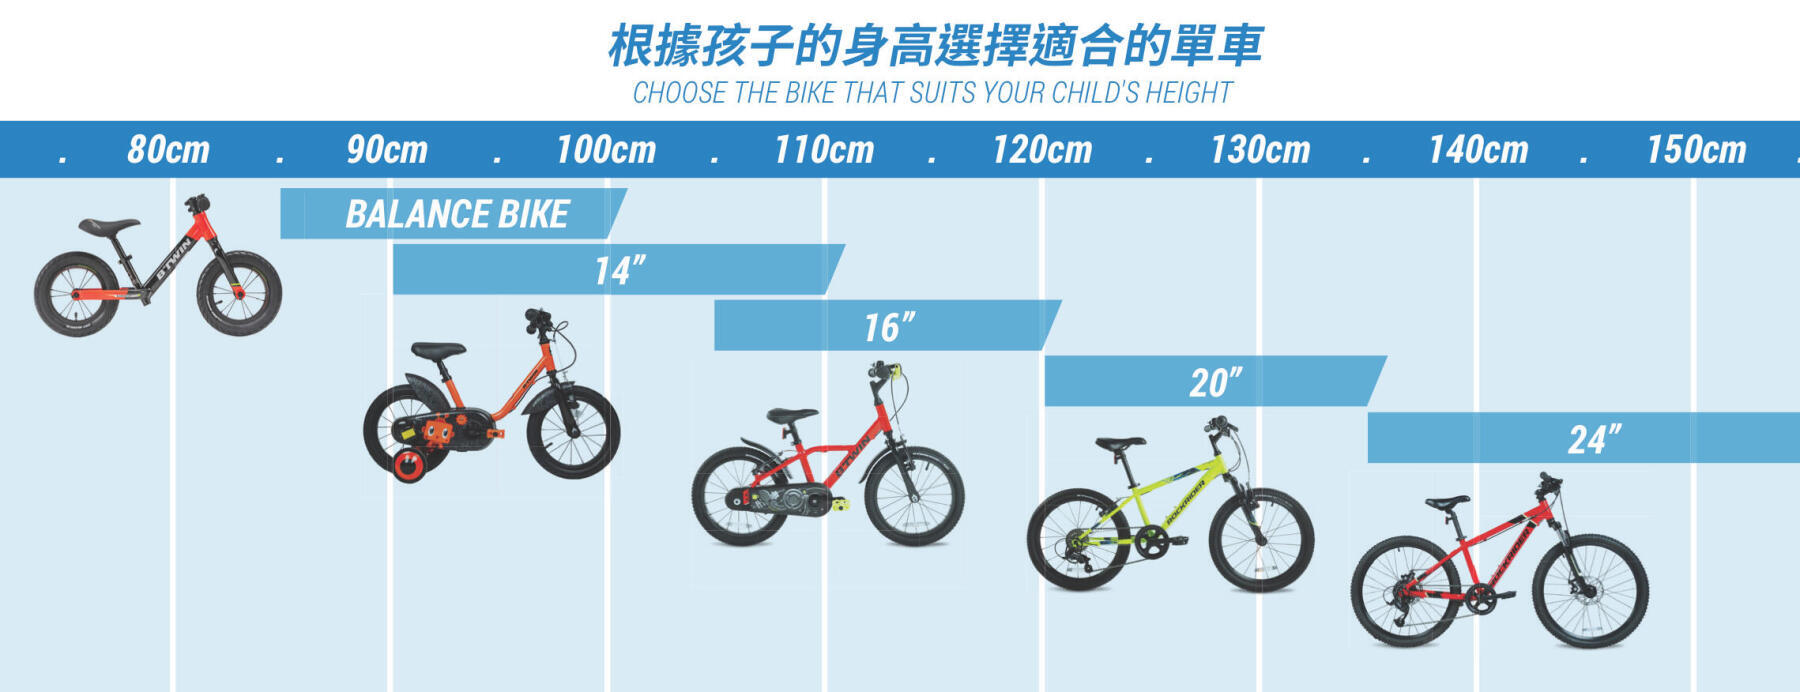
For beginners aged 2 and above with a height of 85 cm to 1 metre, balance bikes are a
good option, as they help children learn to balance, control the speed and use the
brakes.

If your child is taller than 90 cm, you can add a pair of training wheels to a 14-
inch (for 3 to 5 year-olds) or 16-inch (for 4 to 6 year-olds) children’s bike. For older
children, opt for 20-inch (6 to 8 year-olds) or 24-inch (9 to 12 year-olds) wheels.

Discover our range of children’s bicycles and show your little one how to ride on two wheels!

How to choose the right bike for yourself?

Adults bikes

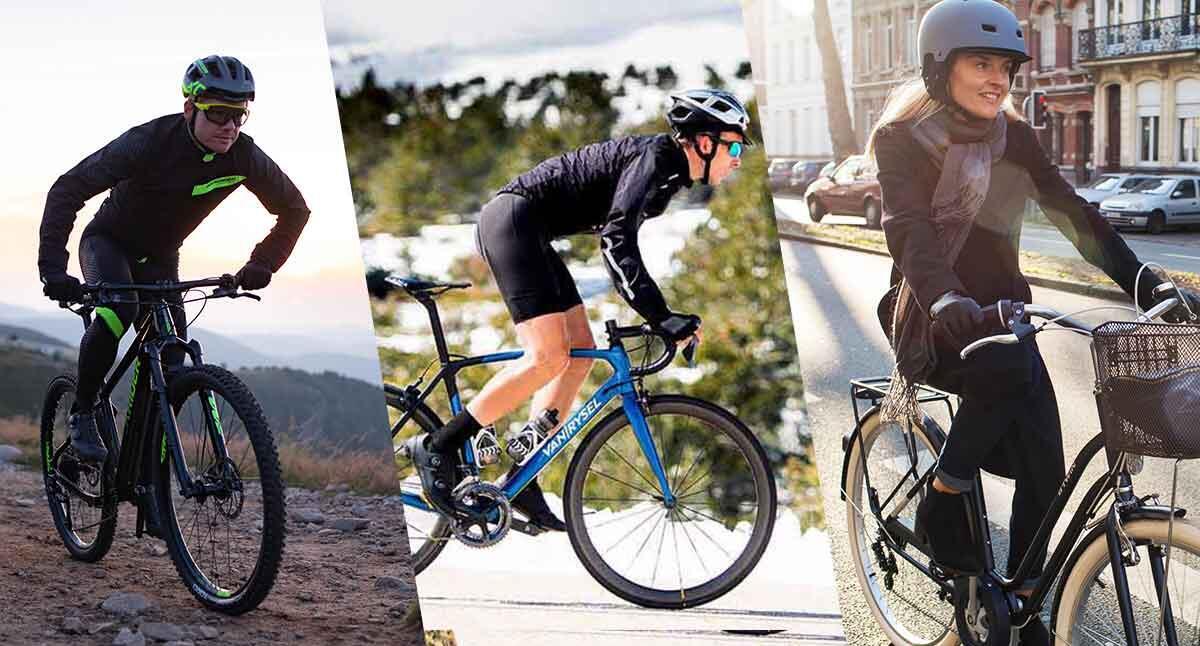
Adults can choose from four different types of bicycles: 

Folding bikes take up the least space and are great for everyday leisure rides and short trips.
They can also be transported easily on public transport.

Hybrid bikes are designed for a wide range of surfaces, including paved and gravel paths. They
are very similar in function to mountain bikes, but usually weigh less.

Mountain bikes come with suspension to soften the impact of rough terrain. They also provide
additional stability on unpaved surfaces.

Road bikes are designed for paved surfaces, and feature a lightweight design for travelling at
fast speeds. They are ideal for long-distance rides.

CHOOSE A BIKE BASED ON YOUR NEEDS AND HEIGHT

Choose a bike based on your needs and height

Choosing the right bike is a real skill – the frame must be just the right size, as frames that are
too small or too big can increase strain on the muscles and joints and affect your riding posture
and comfort.

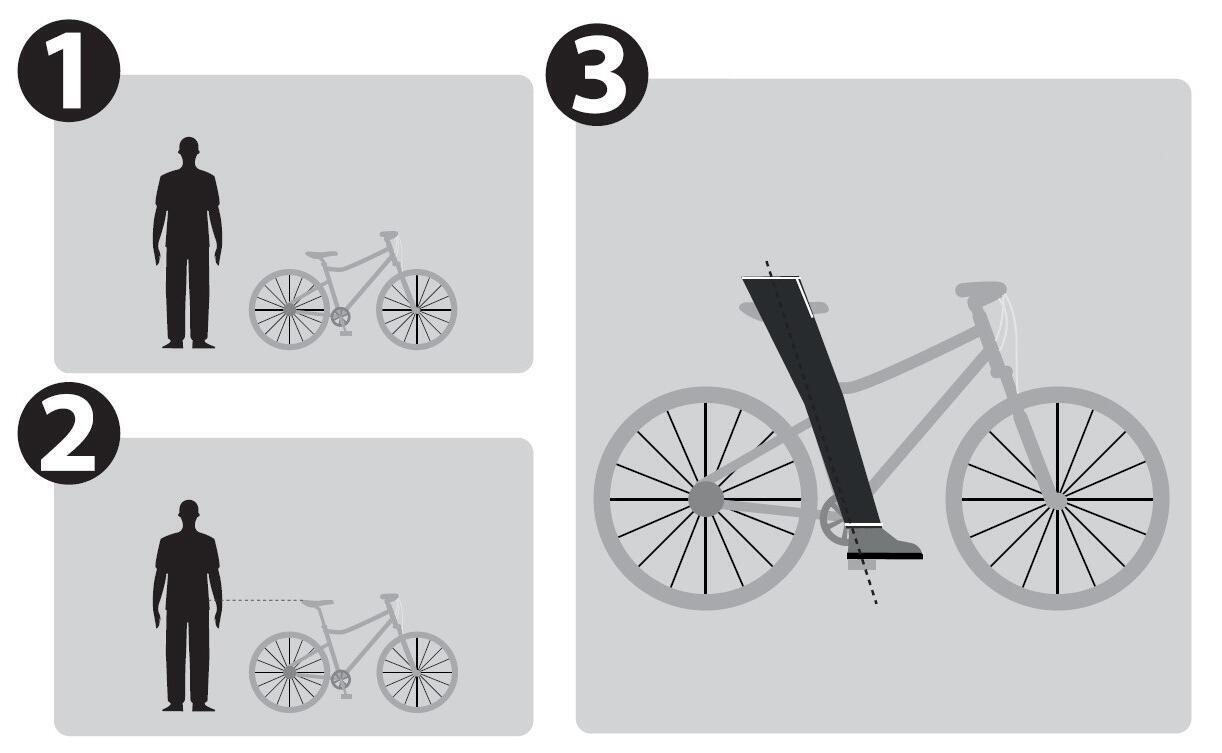
The two most important measurements:
1) Your inseam
2) The distance between the top tube of the bike and your crotch when standing in front of the saddle with your feet shoulder width apart, which should be approximately 5 cm (or a clenched fist).

If the top tube is too close to your crotch, this means that the frame is too big. Conversely, if the top tube is too far from your crotch, choose a bigger frame.

GUIDELINES FOR ADJUSTING YOUR SADDLE HEIGHT

Guidelines for adjusting your saddle height

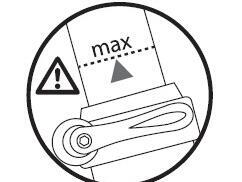
When adjusting the height of your saddle, ensure that it stays level and don’t go beyond the maximum extension.

Concept:
When the saddle height is correct, you should have a very slight bend in your knee at the bottom of the pedal stroke. 

An easy way to set your saddle to the right height is by using the so-called ‘heel method’. Sit on the saddle and place your heel on the pedal, ensuring that the pedal is in the lowest position. Increase/decrease the saddle height until your leg is just straight, and then lower the saddle by 1-5 cm, ensuring that you are in a comfortable riding position.

CYCLING | HOW DO I CHOOSE THE RIGHT BIKE SIZE?

What is the best way?

Whether you’re looking for a folding bike, road bike, mountain bike or hybrid bike, the best way to make sure you choose the right size is to pay a visit to the bicycle section at our Tseung Kwan O, Mong Kok, Sha Tin or Tuen Mun stores. 

Our sports ambassadors will be on hand to provide professional advice and useful tips.

ESSENTIAL BIKE ACCESSORIES

Essential accessories

Your bicycle must be equipped with a bell and a red rear reflector.

If you plan to ride at night, you will also need white front lights and rear red lights, which must be purchased separately. Before setting off, remember to check that your lights have enough battery power, and ensure that the lights are pointing slightly downwards to avoid disturbing drivers and other road users.

A helmet is another essential piece of gear  
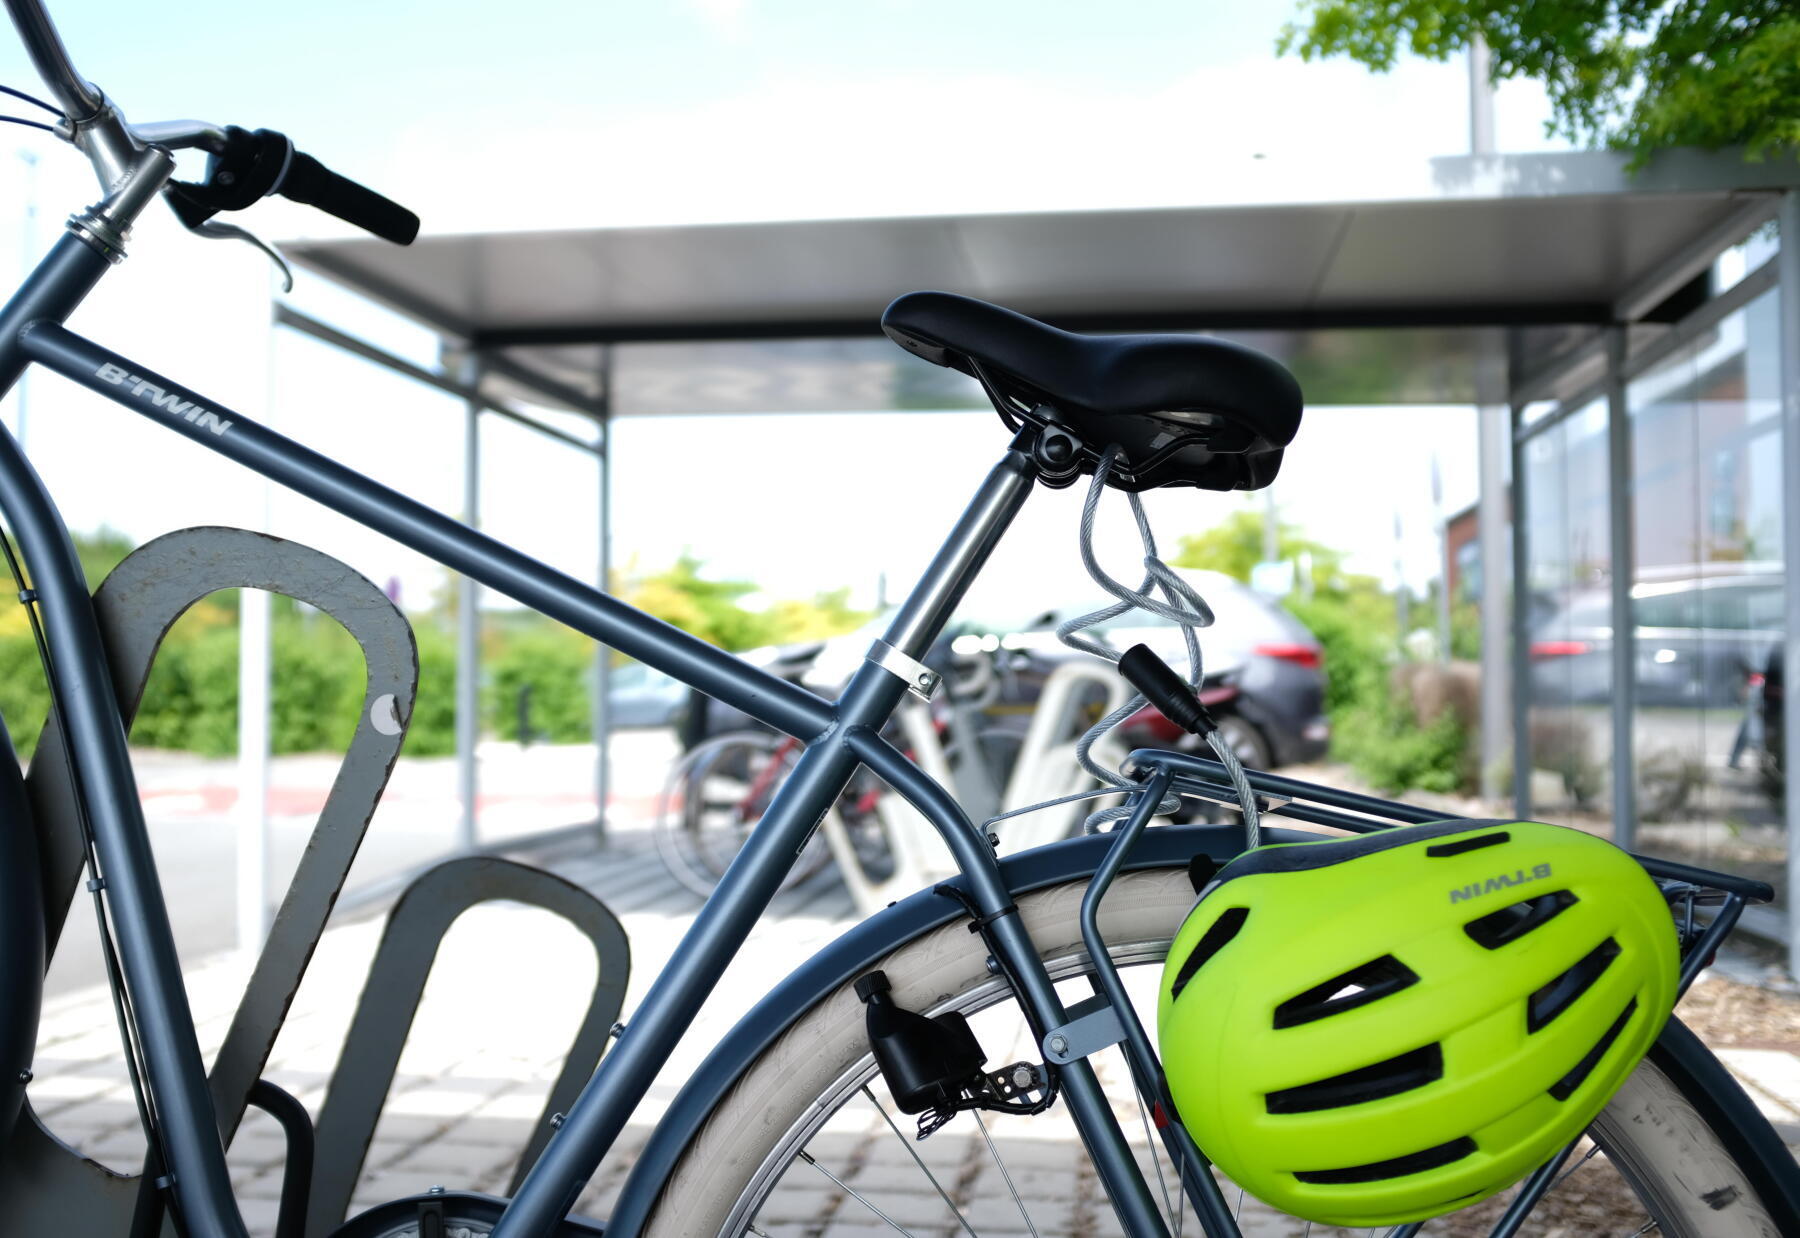
  - For maximum safety and visibility, choose a bright-coloured helmet that meets international standards.

For rides of more than half an hour, you can equip your bike with a bottle cage and saddle bag so that you can carry a bottle of water and other small items. If you need to take a break during your ride, don’t forget to take a lock to protect your bike against theft.

Last but not least, remember to check the tyres before you set off to minimize the risk of a flat tyre!

Outdoor cycling tips

Brake adjustment and use:
Before every ride, check that the front and back brakes are in perfect working order. Normally, the front brake is controlled by the right brake lever and the rear brake is controlled by the left brake lever.
Remember: The brakes are a key safety mechanism for the cyclist. They must be checked before every ride and regularly maintained and adjusted.

If you want to transport your bike on public transport, it’s likely that you’ll need to remove the front wheels. Once you’ve got the hang of it, you’ll be able to remove the wheels in no time.
We’ve put together a quick guide to show you how it’s done:

How to install your bike quick release?

What are the 4 steps?

How to remove your front wheel?

1. Release the brakes:
  - If your bike has rim brakes, you will need to release the cable tension before removing the wheel. There should be a lever on one side of the caliper, which will release the cable tension
and ensure that the brake pads are far enough from the rim for your tyre to slide past them.
2. Turn your bike upside down:
  - Turning your bike upside down will make it easier to remove the wheel and prevent your bike from falling over after the wheel has been removed.
3. Open the quick release:
  - If your bike has a quick release, flip the lever into the open position.
4. Lift the wheel out of the fork:
  - If your bike has rim brakes, make sure you do not dislodge the calipers, and be careful with the rotor if you have disc brakes.

How to reinstall your front wheel?
1. Place your wheel back into the front fork:
  - If you have rim brakes, be careful not to dislodge the calipers when reinstalling the wheel.
  - If you have disc brakes, place the rotor in between the brake pads.
2. Tighten the axle:
  - If you have a quick release axle, place the rim of the wheel completely into the dropouts. Holding the lever in place, tighten the nut on the other side and push the lever into the closed
position. The quick release axle is open when in the left-hand position.
3. Turn your bike upside down:
  - If you have rim brakes, make sure your brake cable is reconnected properly.
4. Spin the wheel:
  - This makes sure that your brake pads are not rubbing the rim or the rotor. If the wheel does not spin, the wheel or braking system could be bent. In this case, turn your bike back over, loosen the axle, push down on the wheel and tighten the axle again.

How to install your bike quick release?
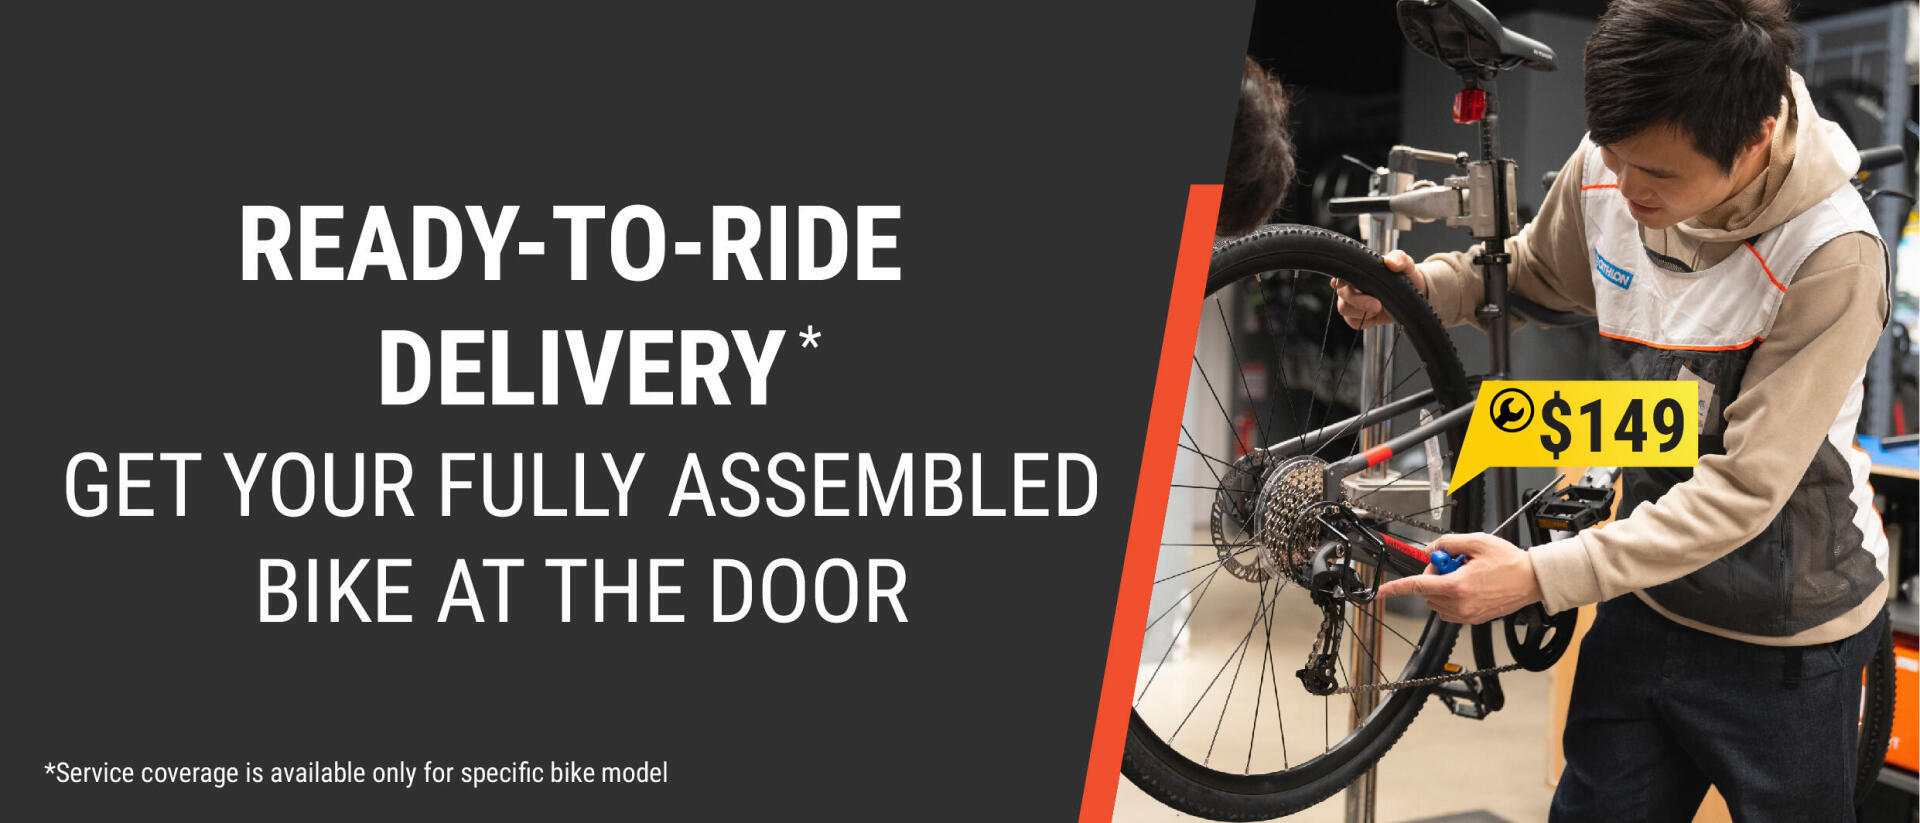
Bike assembly service - Decathlon

YOU MAY ALSO LIKE...

LIFETIME BIKE WARRANTY

CYCLING | LIFETIME BIKE WARRANTY

Decathlon offers the Lifetime Warranty for bicycles. No worry, we provide inspection and maintenance service.

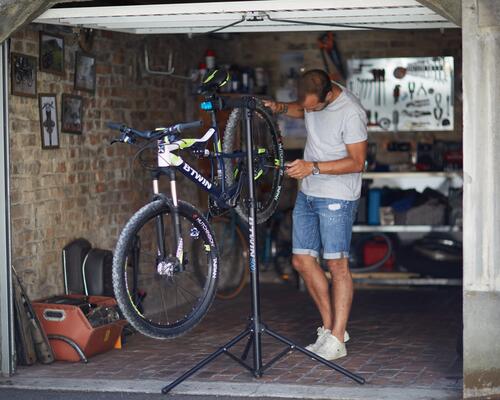
HOW TO INSTALL YOUR OWN BIKE STEM & PEDALS ?

CYCLING | HOW TO INSTALL YOUR OWN BIKE STEM & PEDALS?

We share some installation tips with you to install your lovely bike!

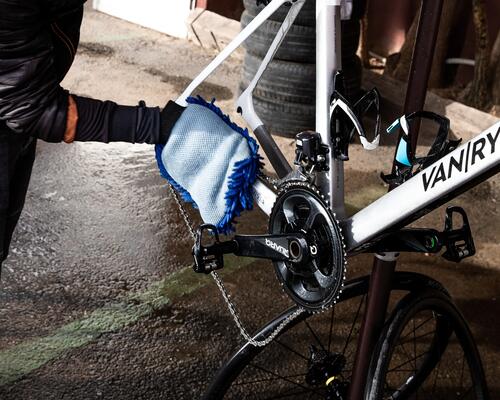
Cycling | Bike Maintenance Checklist For Beginners

Cycling | Bike Maintenance Checklist For Beginners

Remember to have a bike maintenance checklist and check regularly to ensure it runs smoothly and is safe to ride. Here is our bike maintenance guide for help!

TOP 3 BEST CYCLING ROUTES

CYCLING | TOP 3 BEST CYCLING ROUTES

Fed up of the city life? Why not get away from it all? Decathlon has put together three different cycling routes for you!